|
|
|
Step 7
Lastly I want a border of some sort. To do this easily in Photoshop 6.0 (I'm not sure if it's the same in earlier versions of photoshop) I Flatten the image, then doubleclick on the Background layer in the Layers pallette to make it it's own layer. The default name is Layer 0 which I keep. After this is done, I doubleclick on Layer 0 to bring up the Layer Style dialouge. These were the settings of my choice
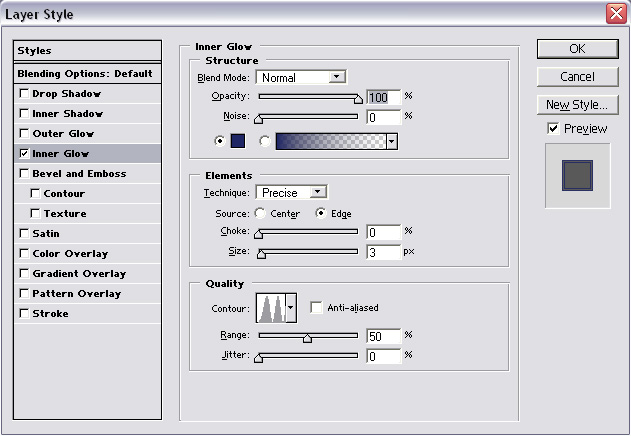
After I applied these settings I flattened the image and saved it as a JPG on maximum quality (10 or better). This is a very important step, all my icons must be of the highest quality possible which is why I cringe when adopters resave them to a lower quality. Well, that's all for this tutorial ^_^ I hope it was somewhat helpful! Here's the final icon:

<< Step6